When you need to capture that mid-century counter feel or a 1950s diner aesthetic, vintage script fonts for retro-themed stationery print shop workflows deliver the exact visual weight and nostalgic spacing that modern typefaces often miss. They bridge the gap between digital layout and physical paper, giving your press run the hand-crafted texture that clients immediately recognize.
What makes a vintage script actually work on paper?
These typefaces mimic the irregular pressure, sweeping swashes, and tight baseline jumps of traditional fountain pen calligraphy. They perform best on projects where whitespace allows the letterforms to breathe without crowding adjacent elements. You would select them for wedding programs, boutique labels, or heritage brand packaging where visual mood sits just above pure utility.
Ink behavior matters more than screen contrast. Thick downstrokes and delicate hairlines react differently depending on your paper choice and printing method. Smooth coated stock keeps the fine edges crisp, while rough uncoated stock softens the terminals and naturally enhances an aged appearance.
How do you match the type to your specific project conditions?
Paper texture dictates your starting selection. Choose heavier weight scripts for letterpress or foil stamping, since the deep impression fills the broad strokes without breaking. For high-speed digital runs, stick to medium-contrast designs that avoid microscopic hairlines prone to disappearing during ink transfer.
Layout proportions change how you adjust spacing and size. Large format posters handle dramatic swashes without hitting the trim line. Small items like hang tags or envelope liners need restrained ligatures and tighter tracking to keep the design cohesive. You might explore handwritten variations designed for artisanal card layouts when working within tight, multi-panel formats.
Project context and brand tone guide your final adjustments. Casual cafe menus and retro festival posters tolerate looser tracking and playful alternates. Corporate heritage reprints usually demand consistent x-heights and strict baseline alignment. For premium retail, you can layer these scripts with refined display scripts meant for high-end packaging to balance nostalgia with clean sophistication.
What technical traps should you avoid before hitting press?
Over-scaling remains the most frequent error. Reducing a large monitor mockup to a standard 4x6 card without resetting tracking creates muddy letter collisions and broken ligatures. Always adjust baseline shifts manually instead of relying on automatic vertical alignment tools that stretch the natural pen rhythm.
Ink density causes unwanted bleeding on uncoated stock when the font lacks proper optical balance. Reduce tracking slightly to compensate, and avoid stacking multiple swash letters in a single line. If your design software forces horizontal stretching, you break the vintage flow and ruin the original stroke contrast. Switch to cleaner script alternatives when the layout requires extreme scaling or heavy text overlap.
Fixing awkward gaps at your workstation is straightforward. Switch from metric to optical kerning, then manually nudge overlapping pairs that create dark spots. Export to PDF with fonts embedded, verify CMYK black separation, and always run a physical proof on the exact paper stock.
What steps guarantee clean output every time?
Follow this short checklist before sending your files to the printer:
- Set tracking to zero or slightly positive values to prevent ink merging.
- Replace automatic ligatures with manual alternates where spacing looks cramped.
- Print a grayscale draft on the actual paper stock to test ink spread.
- Convert type to outlines only after final proof approval to avoid missing glyphs.
- Verify minimum stroke weight meets the press operator's tolerance for your chosen method.
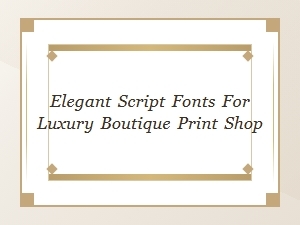 Elegant Script Fonts for Luxury Boutique Print Shops
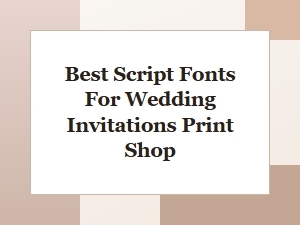 Best Script Fonts for Wedding Invitations
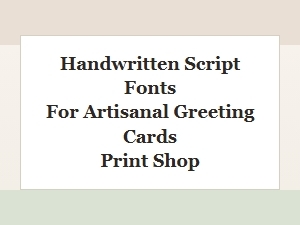 Handwritten Script Fonts for Artisanal Greeting Cards
 Modern Script Fonts for Minimalist Print Branding
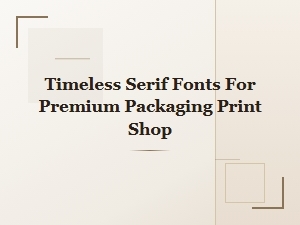 Timeless Serif Fonts for Premium Packaging
 Elegant Serif Fonts for Luxury Business Cards